Sangoma Phone Reference Sheet
Key differences from Avaya IP Office
- Dialing 8 is no longer required, just dial the 10 digit number as normal. If 8 is dialed before an outside number, the system will still process it.
- When dialing, you will need to press the "Dial" button to initiate the call.

If you dial the number first then pick up the handset or press the speaker button, the call will start automatically. - AS of 7/17/2023, visual voicemail only works for the main extension of the phone, but this is expected to be added in the future. If additional voicemails need accessed, dial *98xxxx where xxxx is the extension number. A button on the phone can also be configured for quick access to this.
- Voicemails and greetings did not carry over from Avaya. Greetings will need to be rerecorded. Please see the voicemail section of this document.
User Control Panel
The user control panel gives users a web portal to manage functions of their extensions
- Check voicemail and change greetings
- Check call history
- Change phone status (do not disturb, away, etc)
- Contacts list. Additional contact lists could be created and shared with extensions
- Edit the buttons on your desk phone
- Additional permissions can be set to allow checking/changing these for another extension. E.X allow a secretary to check the voicemail for a principal.
To access the UCP, browse to https://voip.pinerichland.org/ucp/ and login with your computer login credentials. On first login, you will be presented with a short tutorial.
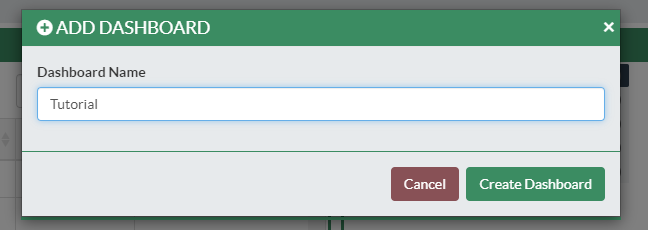
First, create a dashboard with the + at the top right. Give a name then click Create Dashboard
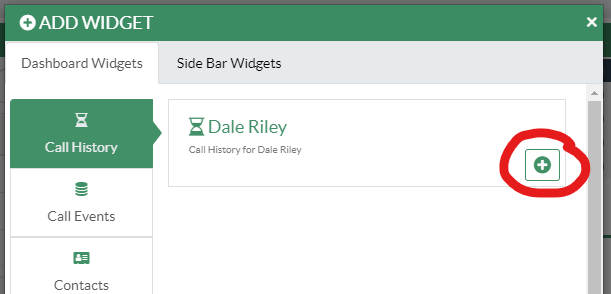
Next, click the + on the top left. Select which widget type, then click the + for the name/extension. This will add the widget to your dashboard.
Some widgets have a gear that allow you to change additional options. Voicemail, for example, lets you manage your greetings

Placing a call
When the phone is idle (not currently in a call), enter the number with the dial pad, then pick up the handsent or press the speaker button to initiate the call.
If picking up the handset or pressing the speaker button before entering the number, you must press the green DIAL  key before the call will start.
https://www.youtube.com/watch?v=qMtl8XWLGp8
Answering a call
 Handset
Pick up the handset.
 Speakerphone
Press the ![]() (speaker) button.
(speaker) button.
 Headset
If the phone is not in headset mode: Press the ![]() (headset) button.
(headset) button.
If the phone is in headset mode: Either press the ![]() (headset) button on the phone, or the button on the headset itself.
(headset) button on the phone, or the button on the headset itself.


Setting Volume
To set the ringer volume, press the + or - physical rocker buttons on the bottom right of the phone while the phone is idle. The ringtone will play as a preview of the volume.
To set in-call volume, press the + or - physical rocker buttons while in a call.
Set a Ringtone
Press the More button under the screen until Menu is displayed. Press Menu.
Press 3 or use the directional pad to select Preferences.
Press 3 or use the directional pad to select Sound Settings.
Press Change while Default Ringtone is selected.
Select the desired ringtone and press OK, or press preview to preview the ringtone.
Press Submit.
Viewing Calls
- Press the Call Log soft key.

- "All Calls" will be shown by default.

- You can use the < and > (left and right arrow) buttons to filter by call type: All Calls, Missed Calls, Received Calls, and Dialed Calls. The current filter option is shown at the top of the screen.


Video on voicemail usage https://www.youtube.com/watch?v=YNzfb8SowlE
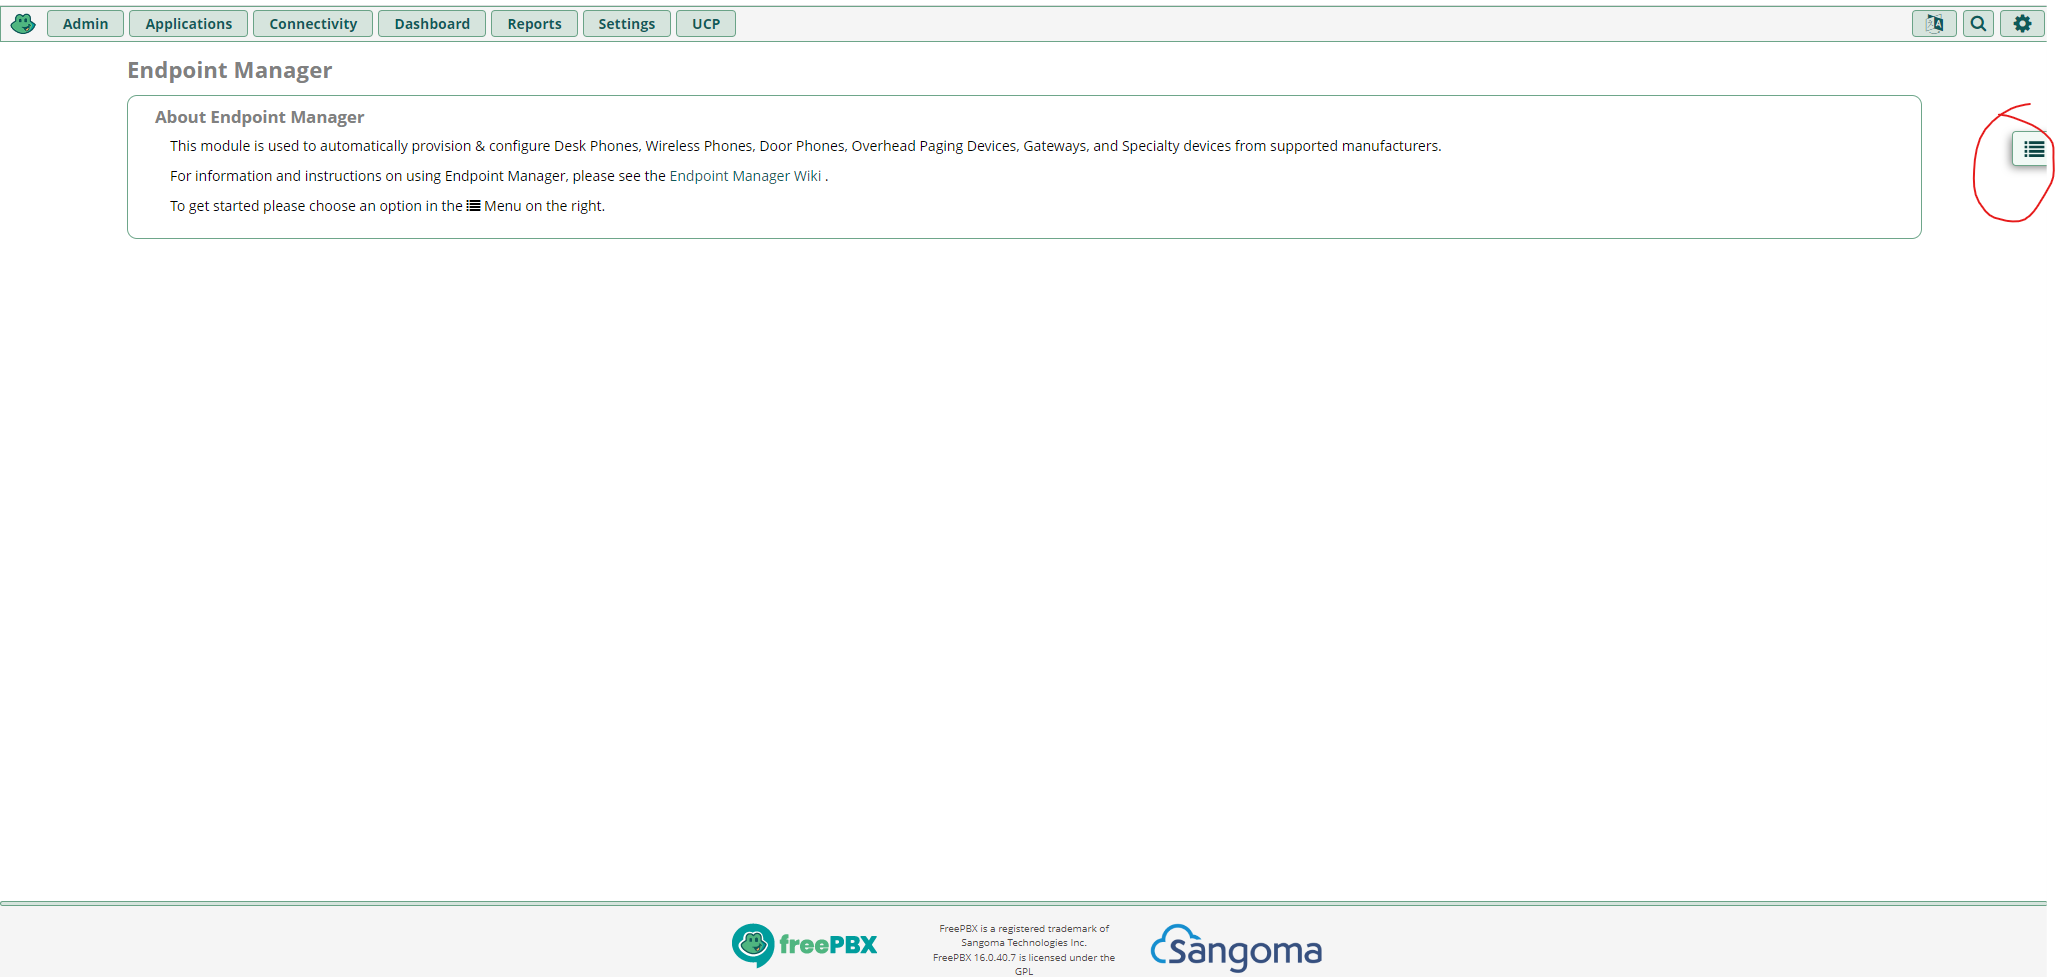
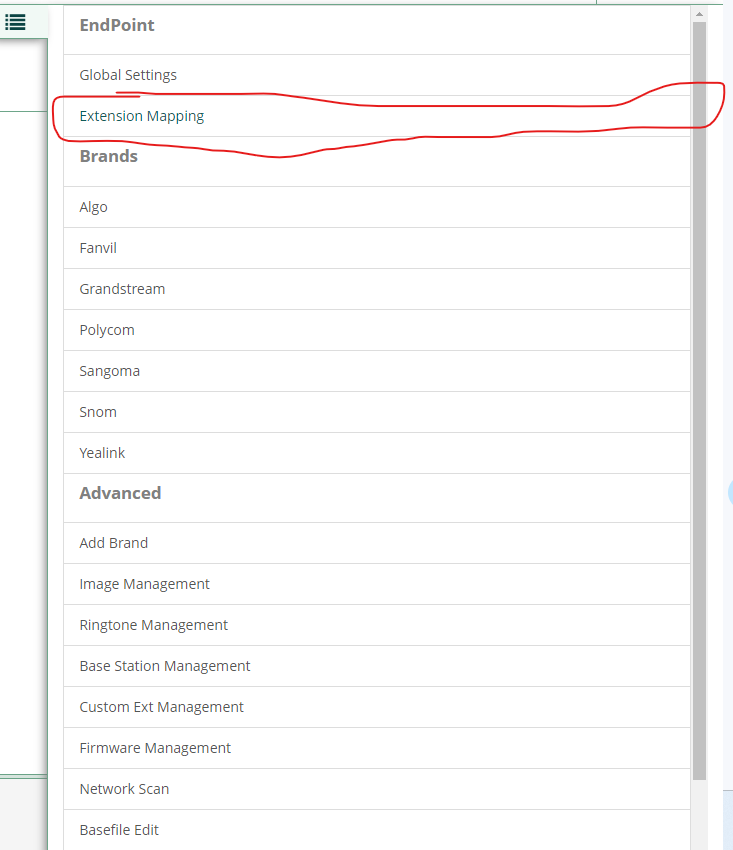
Changing the Extension List
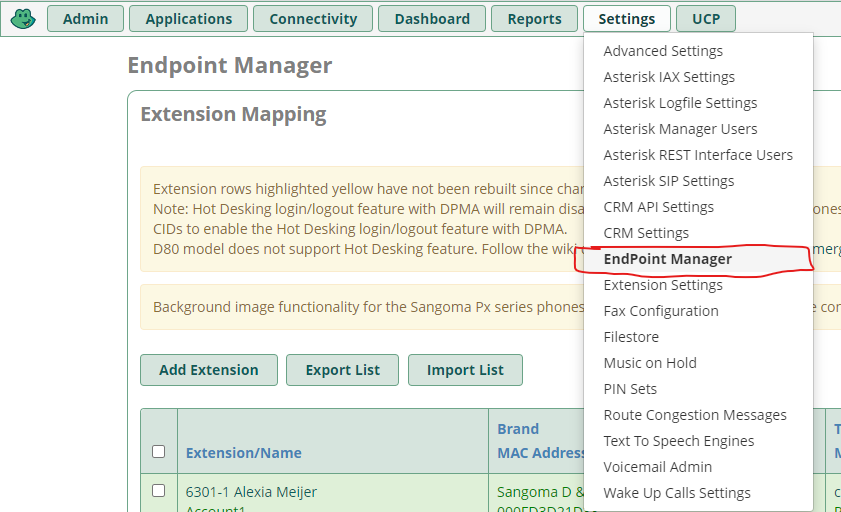
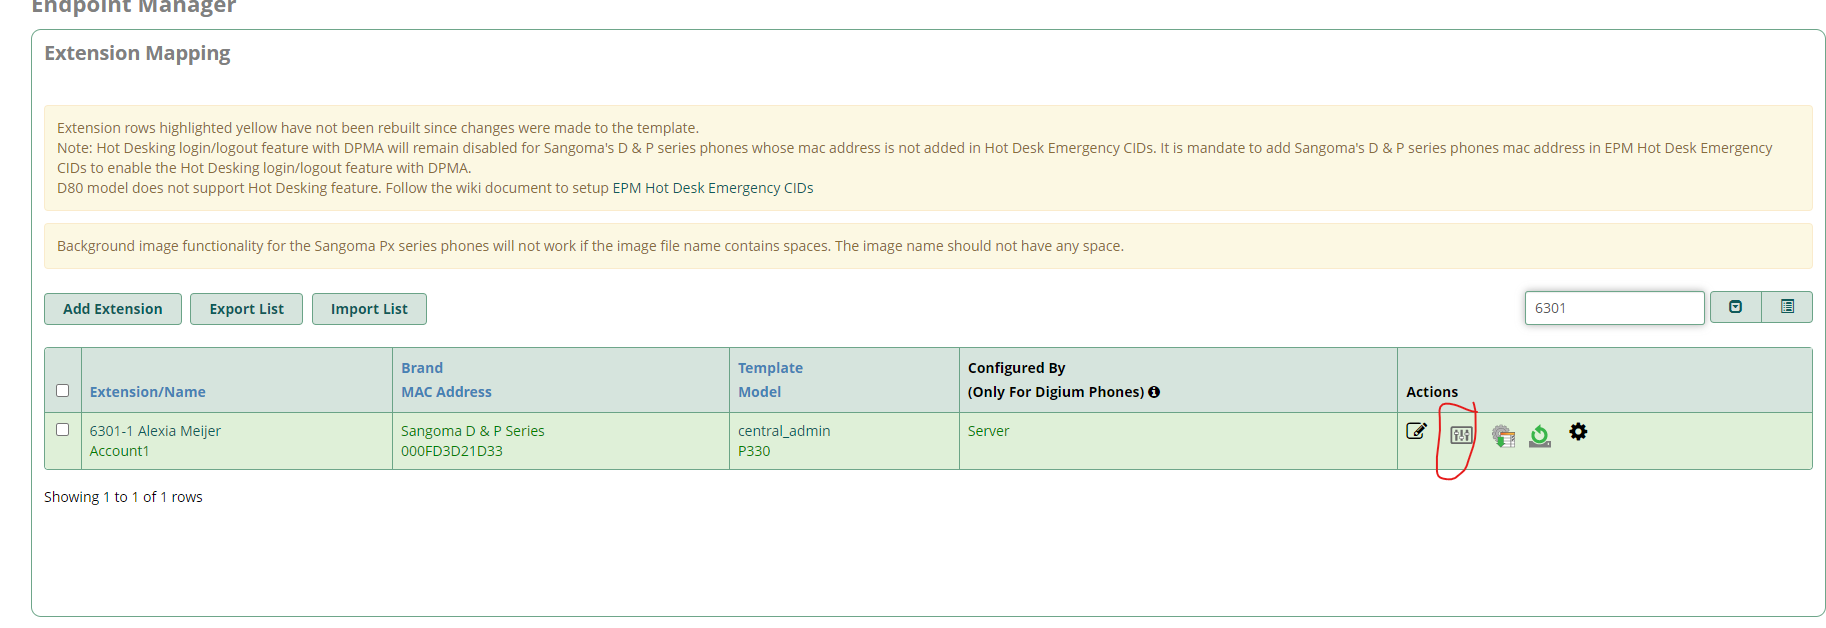
 After that, it will show a list of names and extensions. You can search by name or by the extension for the person you want. After you find the Person whose extensions you are changing, click on the 2nd Button in Actions.
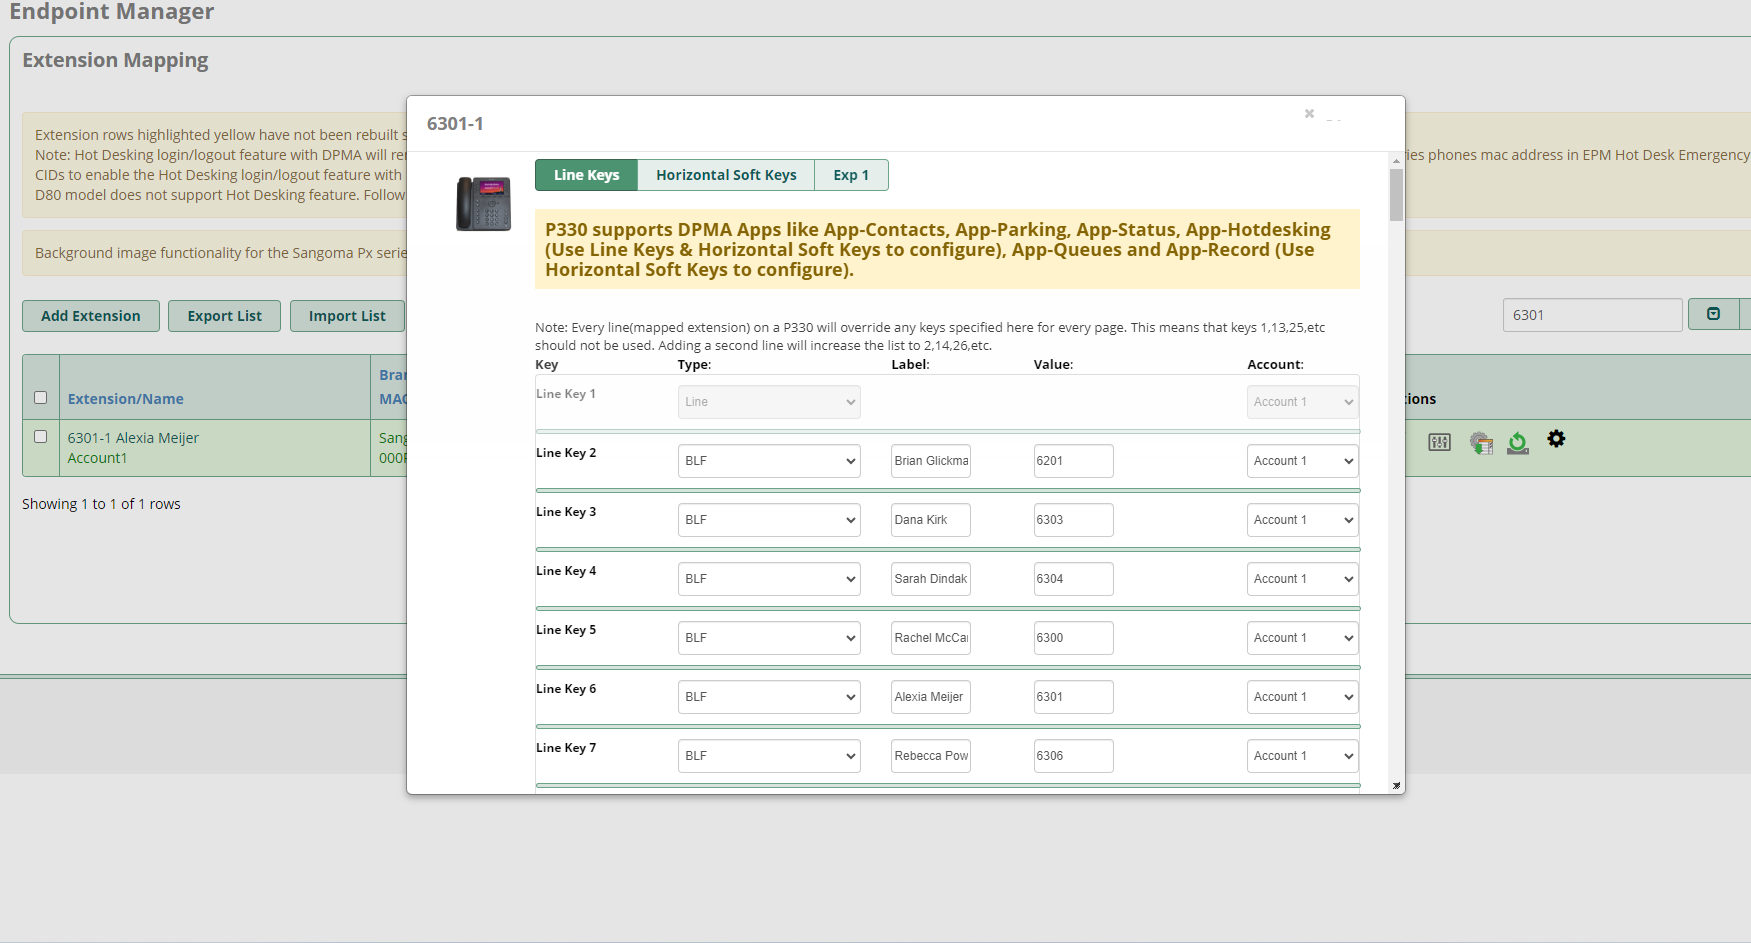 Scroll to whatever extension you are editing, and change the label and/or Extension. If you are Adding an Extension. Click Type, BLF, and then edit the Label and value.
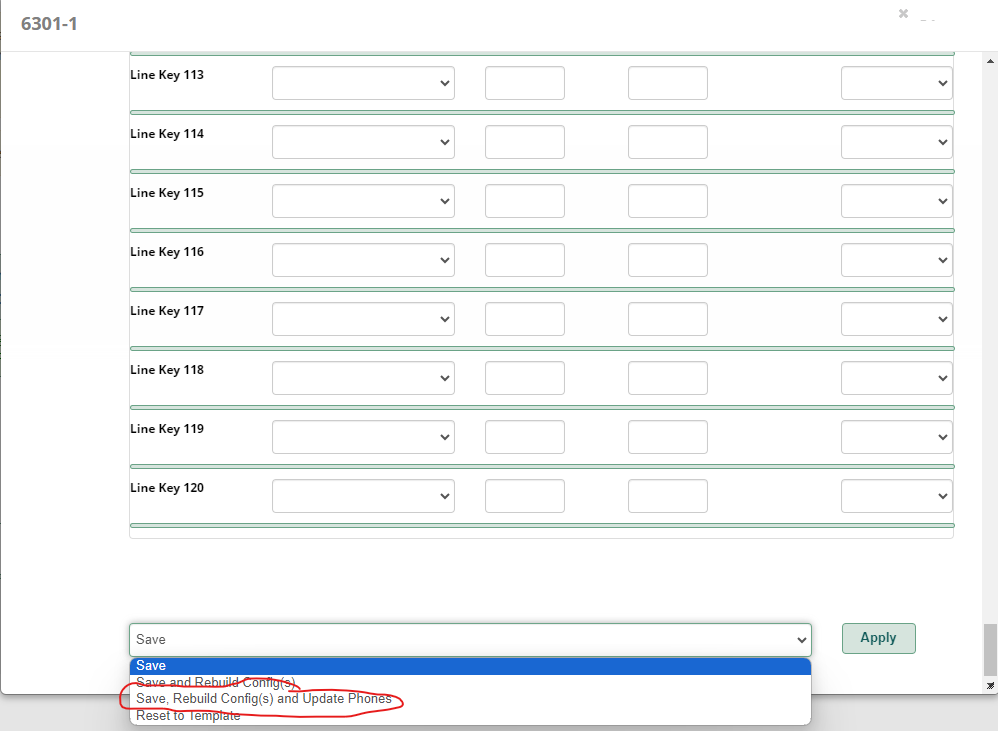
When you are done, scroll to the bottom, click on the Save, and Change to Save, Rebuild Config(s) and Update Phones. Then click Apply. Should only take 30-45 seconds.
Scroll to whatever extension you are editing, and change the label and/or Extension. If you are Adding an Extension. Click Type, BLF, and then edit the Label and value.
When you are done, scroll to the bottom, click on the Save, and Change to Save, Rebuild Config(s) and Update Phones. Then click Apply. Should only take 30-45 seconds.